Friday, 18 October 2024

Week Five.

Week five

This week in pattern we started to construct our skirt toile. I found this really rewarding to do and I’m proud of what I have achieved, although it was difficult as I have sewn a skirt before or anything up to a technical standard.

I started this session by overlocking all edges except for where the waistband will go. As this was only my second time using the overlocker machine, I was still a bit unsure of how to make sure I don’t cut too much off with the blade on the machine, this made my seam allowance a bit smaller than I had planned. Towards the end of using the machine as I got more used to it and comfortable I adjusted to where I should place the fabric to ensure I don’t cut too much of off my skirt pieces. I learnt for the splits where it creates a diagonal line down to do the overlocking in two parts- the first for the first corner then the second part in one straight down towards the hem, I found this tricky as when doing this I would catch the corner on the blade which created holes in my fabric. However, this wasn't too much of an issue as it is in my seam allowance. 


After that we stitched the darts by folding the fabric into a triangle and sewing it. Once we had finished sewing that line, we sewed off the edge and tied the loose threads together instead of reverse stitching until we are confident in our sewing.

When sewing the seams together I realised as on the overlocked I accidentally cut off too much fabric that I would need to make my seam allowance slightly smaller so when sewing the seams I took this into consideration. 

Next, I constructed the mitered corners at home, whilst doing this I found YouTube videos to be helpful as I got a demonstration of what I was meant to do whilst hearing instructions as well, so it was easier to follow the instructions step by step. Overall, I think these turned out well done as the corners are neat and I made a nice edge. I also top-stitched my hem which turned out well as its a straight row of stitching. 


When sewing the placket to my skirt I got confused on which side when the left side up, so this meant that I had drew and pressed the displaced seam on the wrong side. After asking a colleague for advice I understood what I had to do when I got home to finish it. 


In Computing this week, I learnt how to edit photographs in photoshop by adjusting this like exposure, saturation and gradient. I found this really helpful as I have never used photoshop in this way before and it will really help me to develop my photography work.  


In textiles I continued to create mark making drawings, I focused on Ink and
Bleach as I am really interested din the colour and texture it creates. I also continued to mono- print in my textiles lesson for another chosen topic of the brief; insects. I learnt that the ink with transfer through from multiple layers of fabric. I liked this as I could created textures background then to develop them print onto them. I was inspired by Jacquie Parkinson use of bright colours to do this.


This week in photography we photographed Bauhaus hats that we had made out of Photograms we had made in previous lessons. I got to be the photographer and a model for someone else. I preferred photographing.

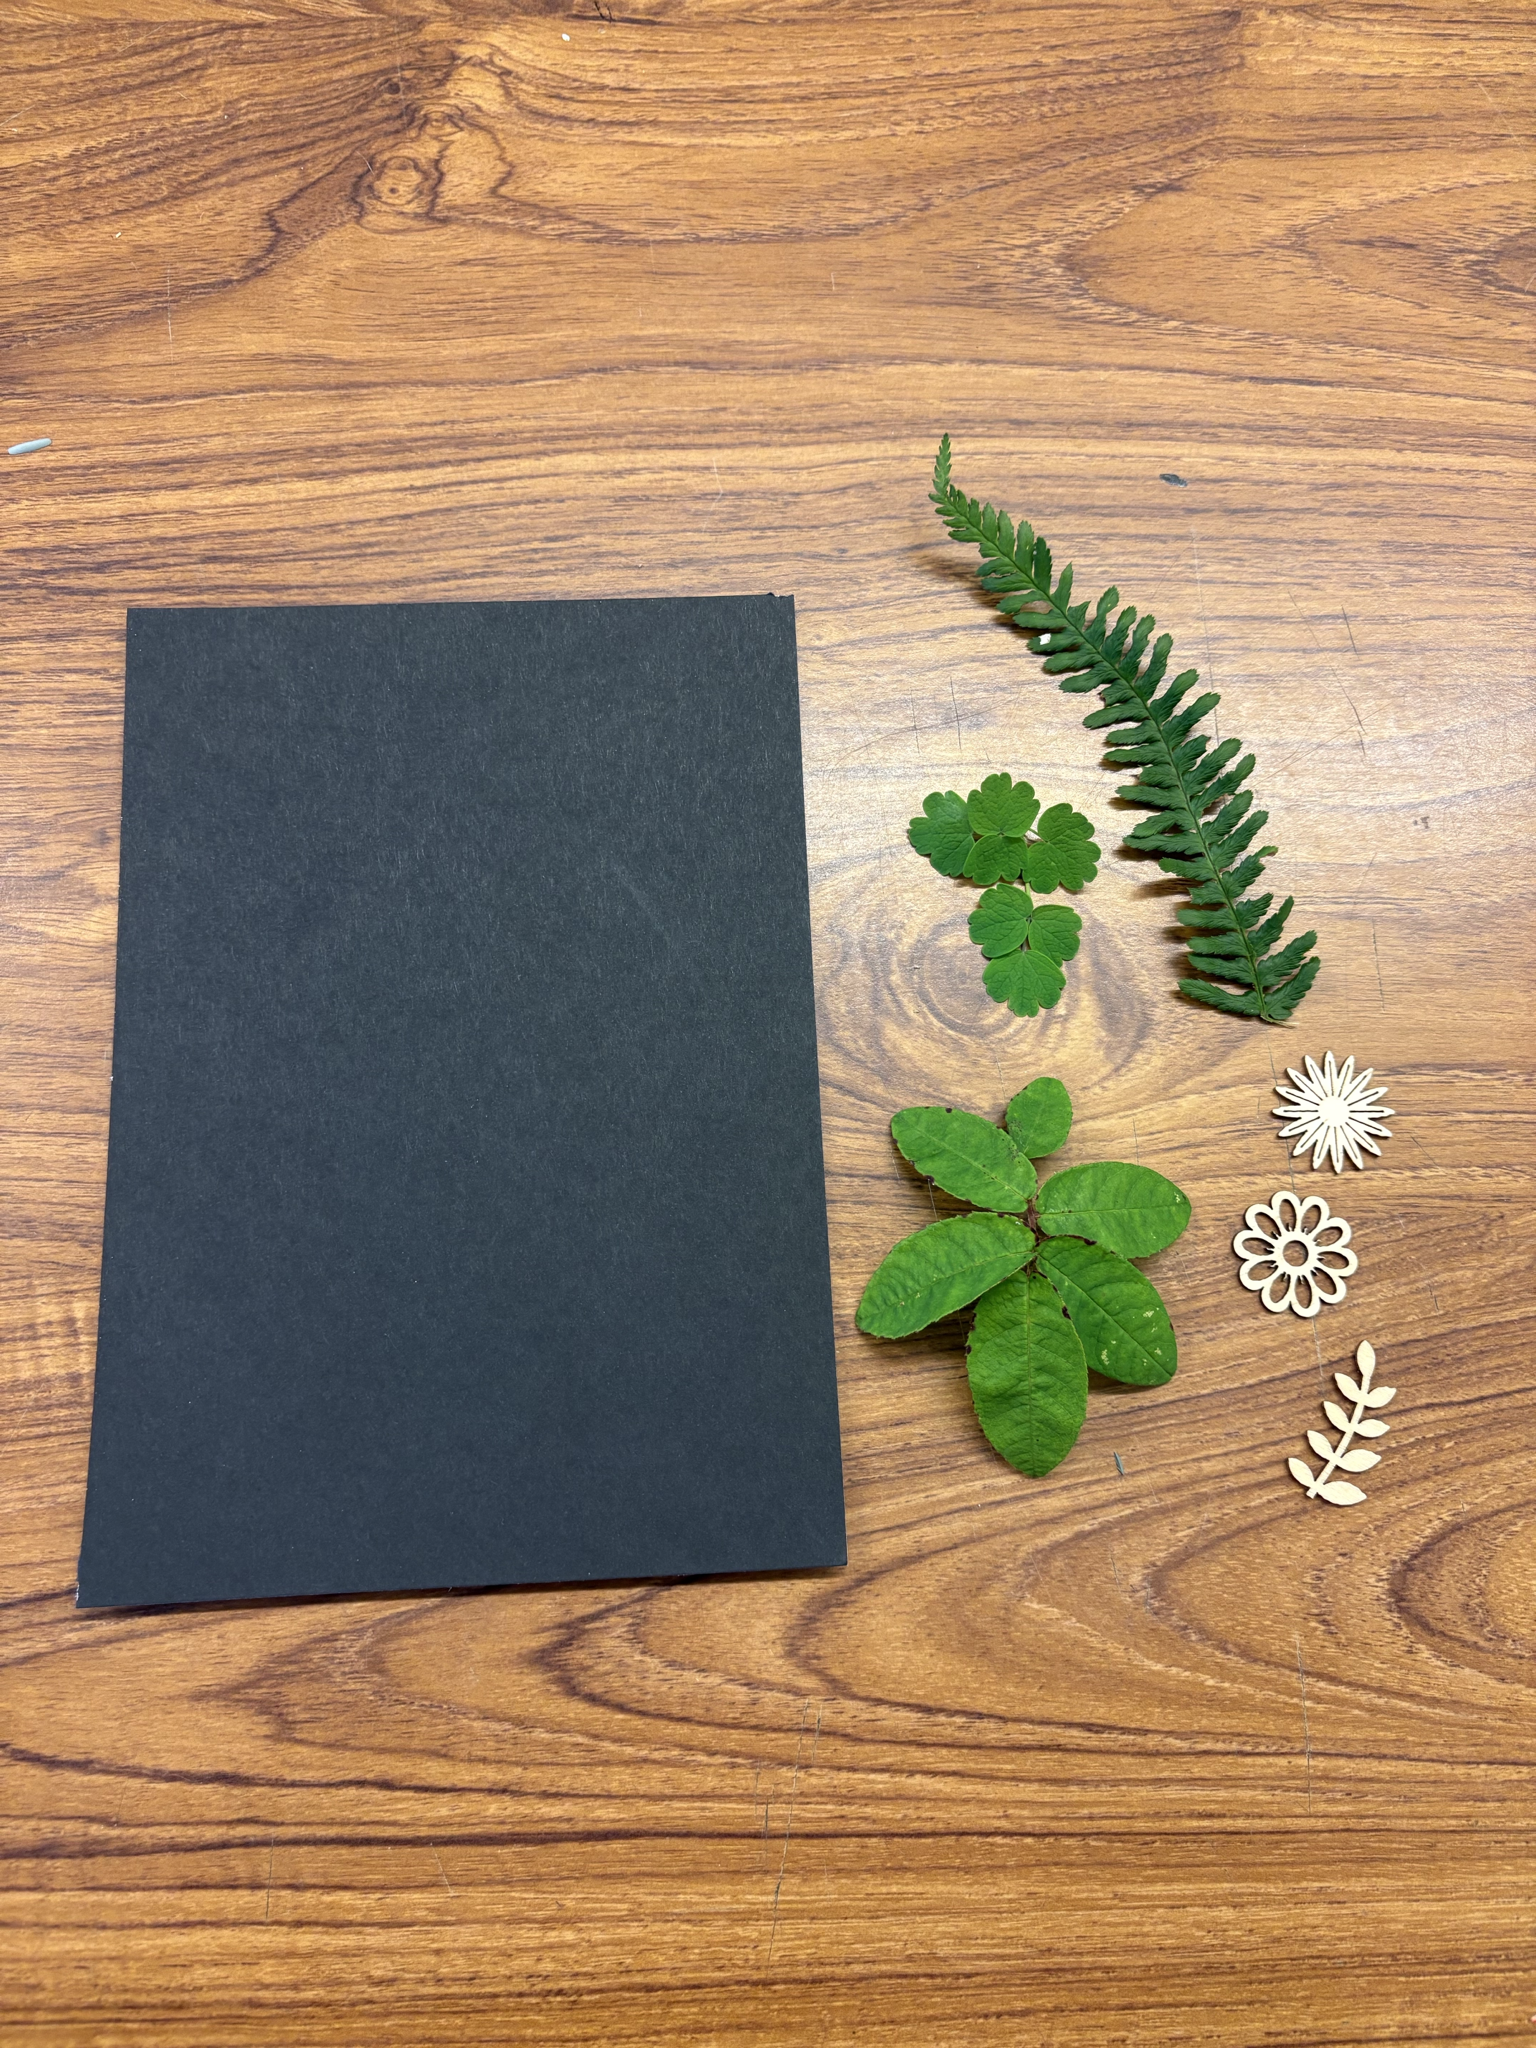
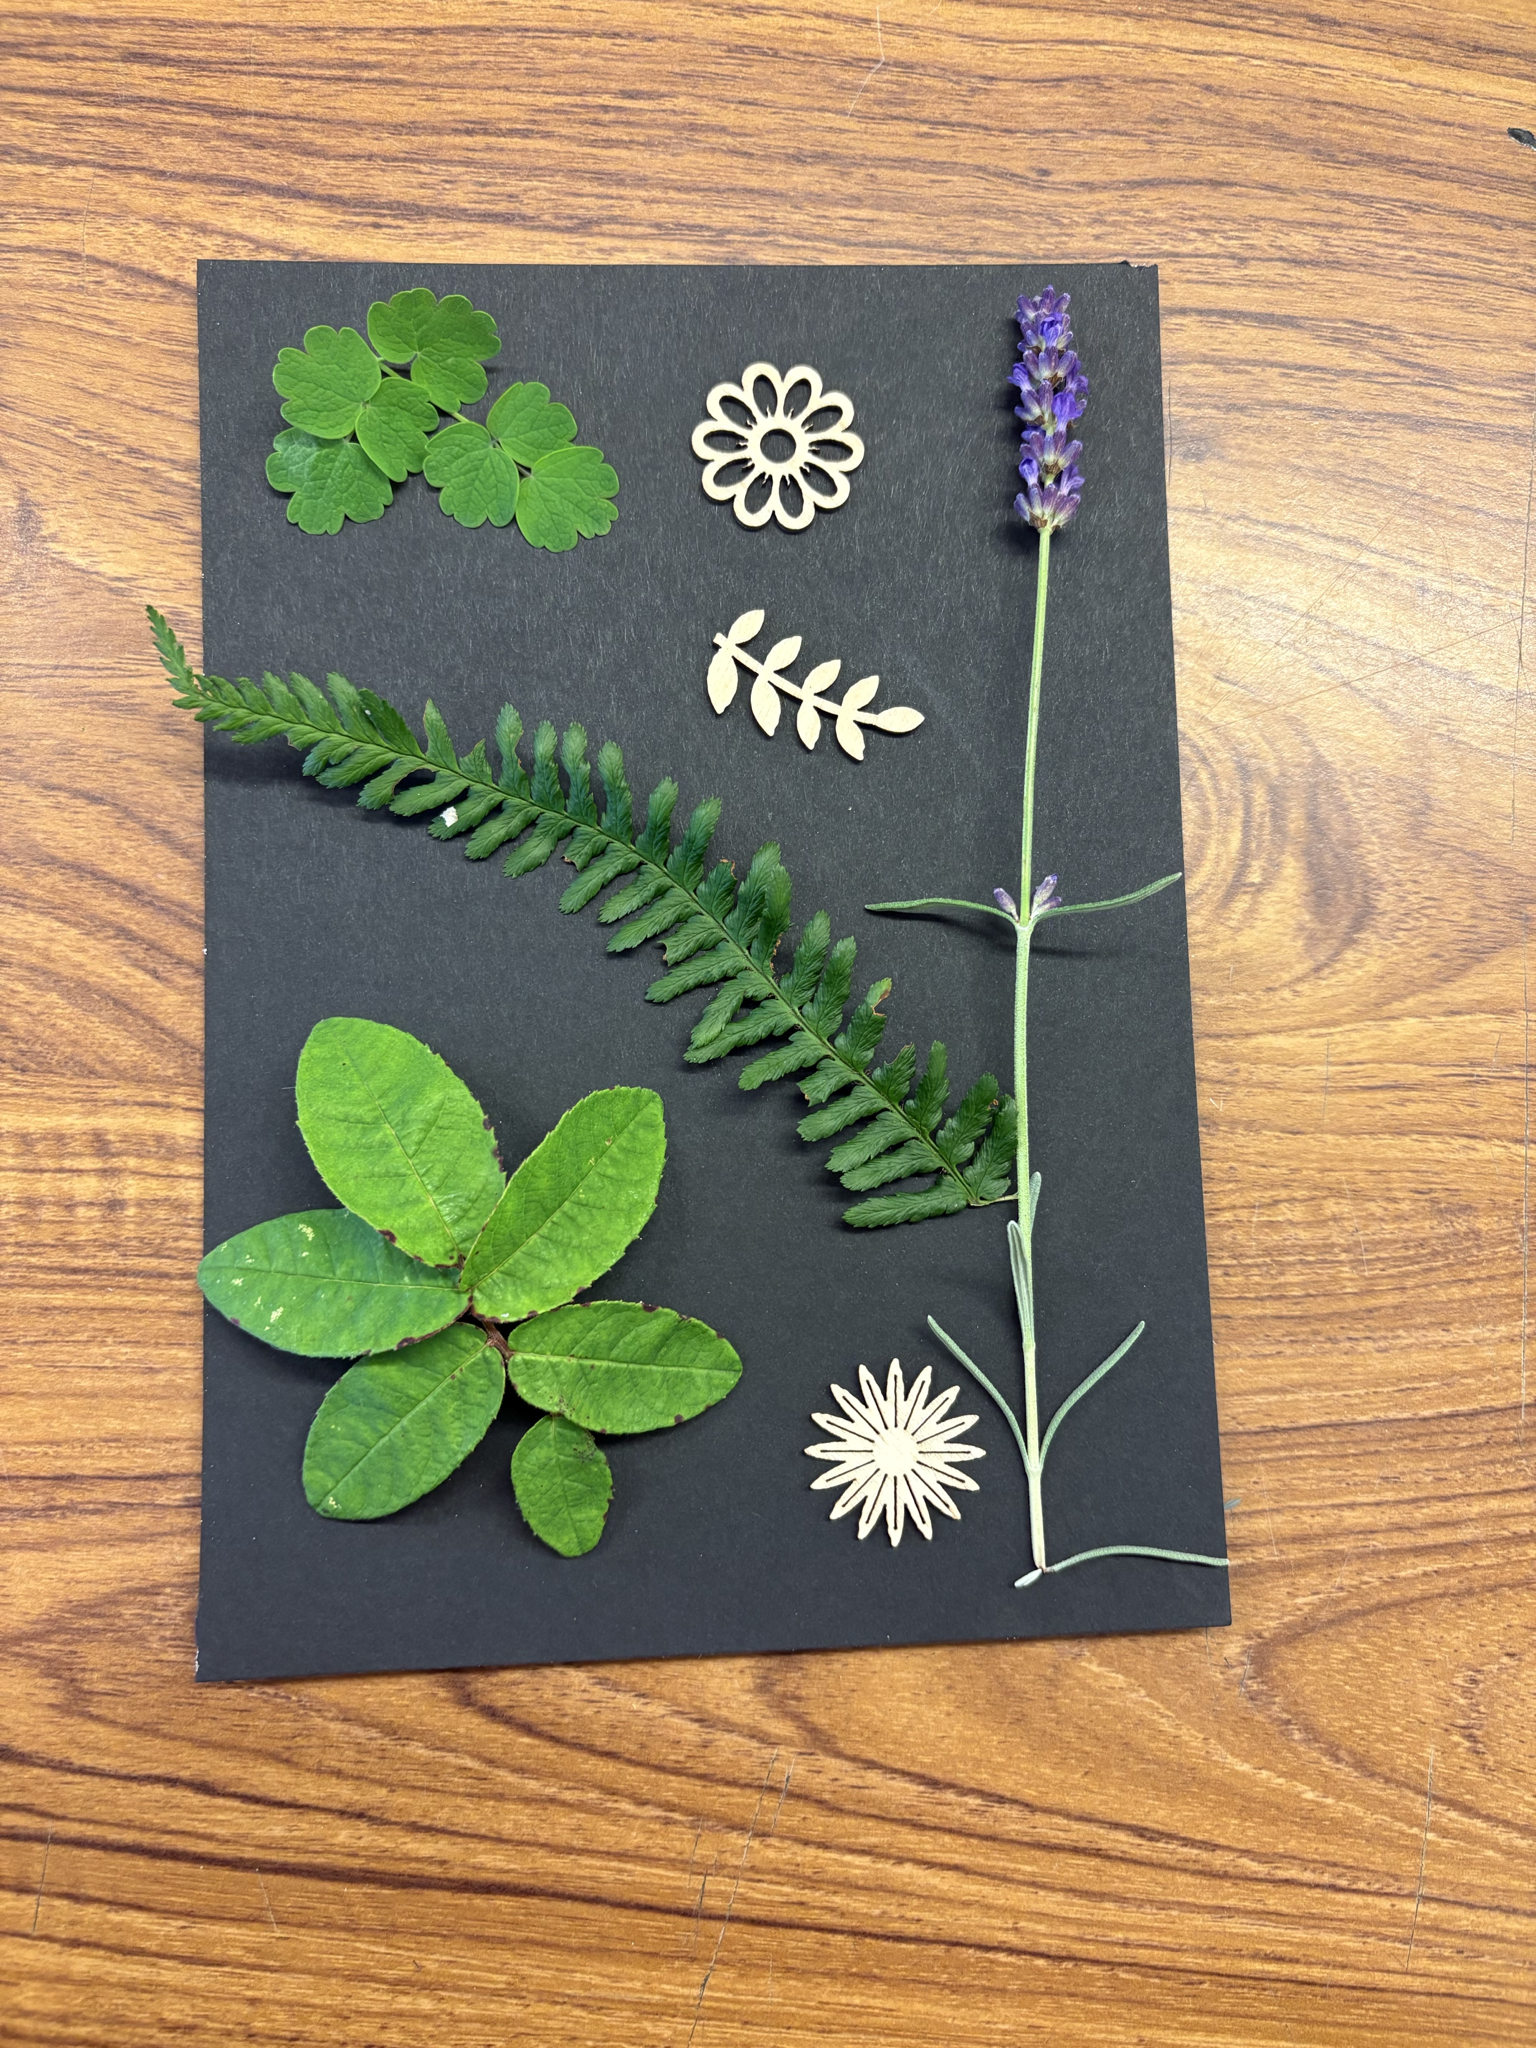
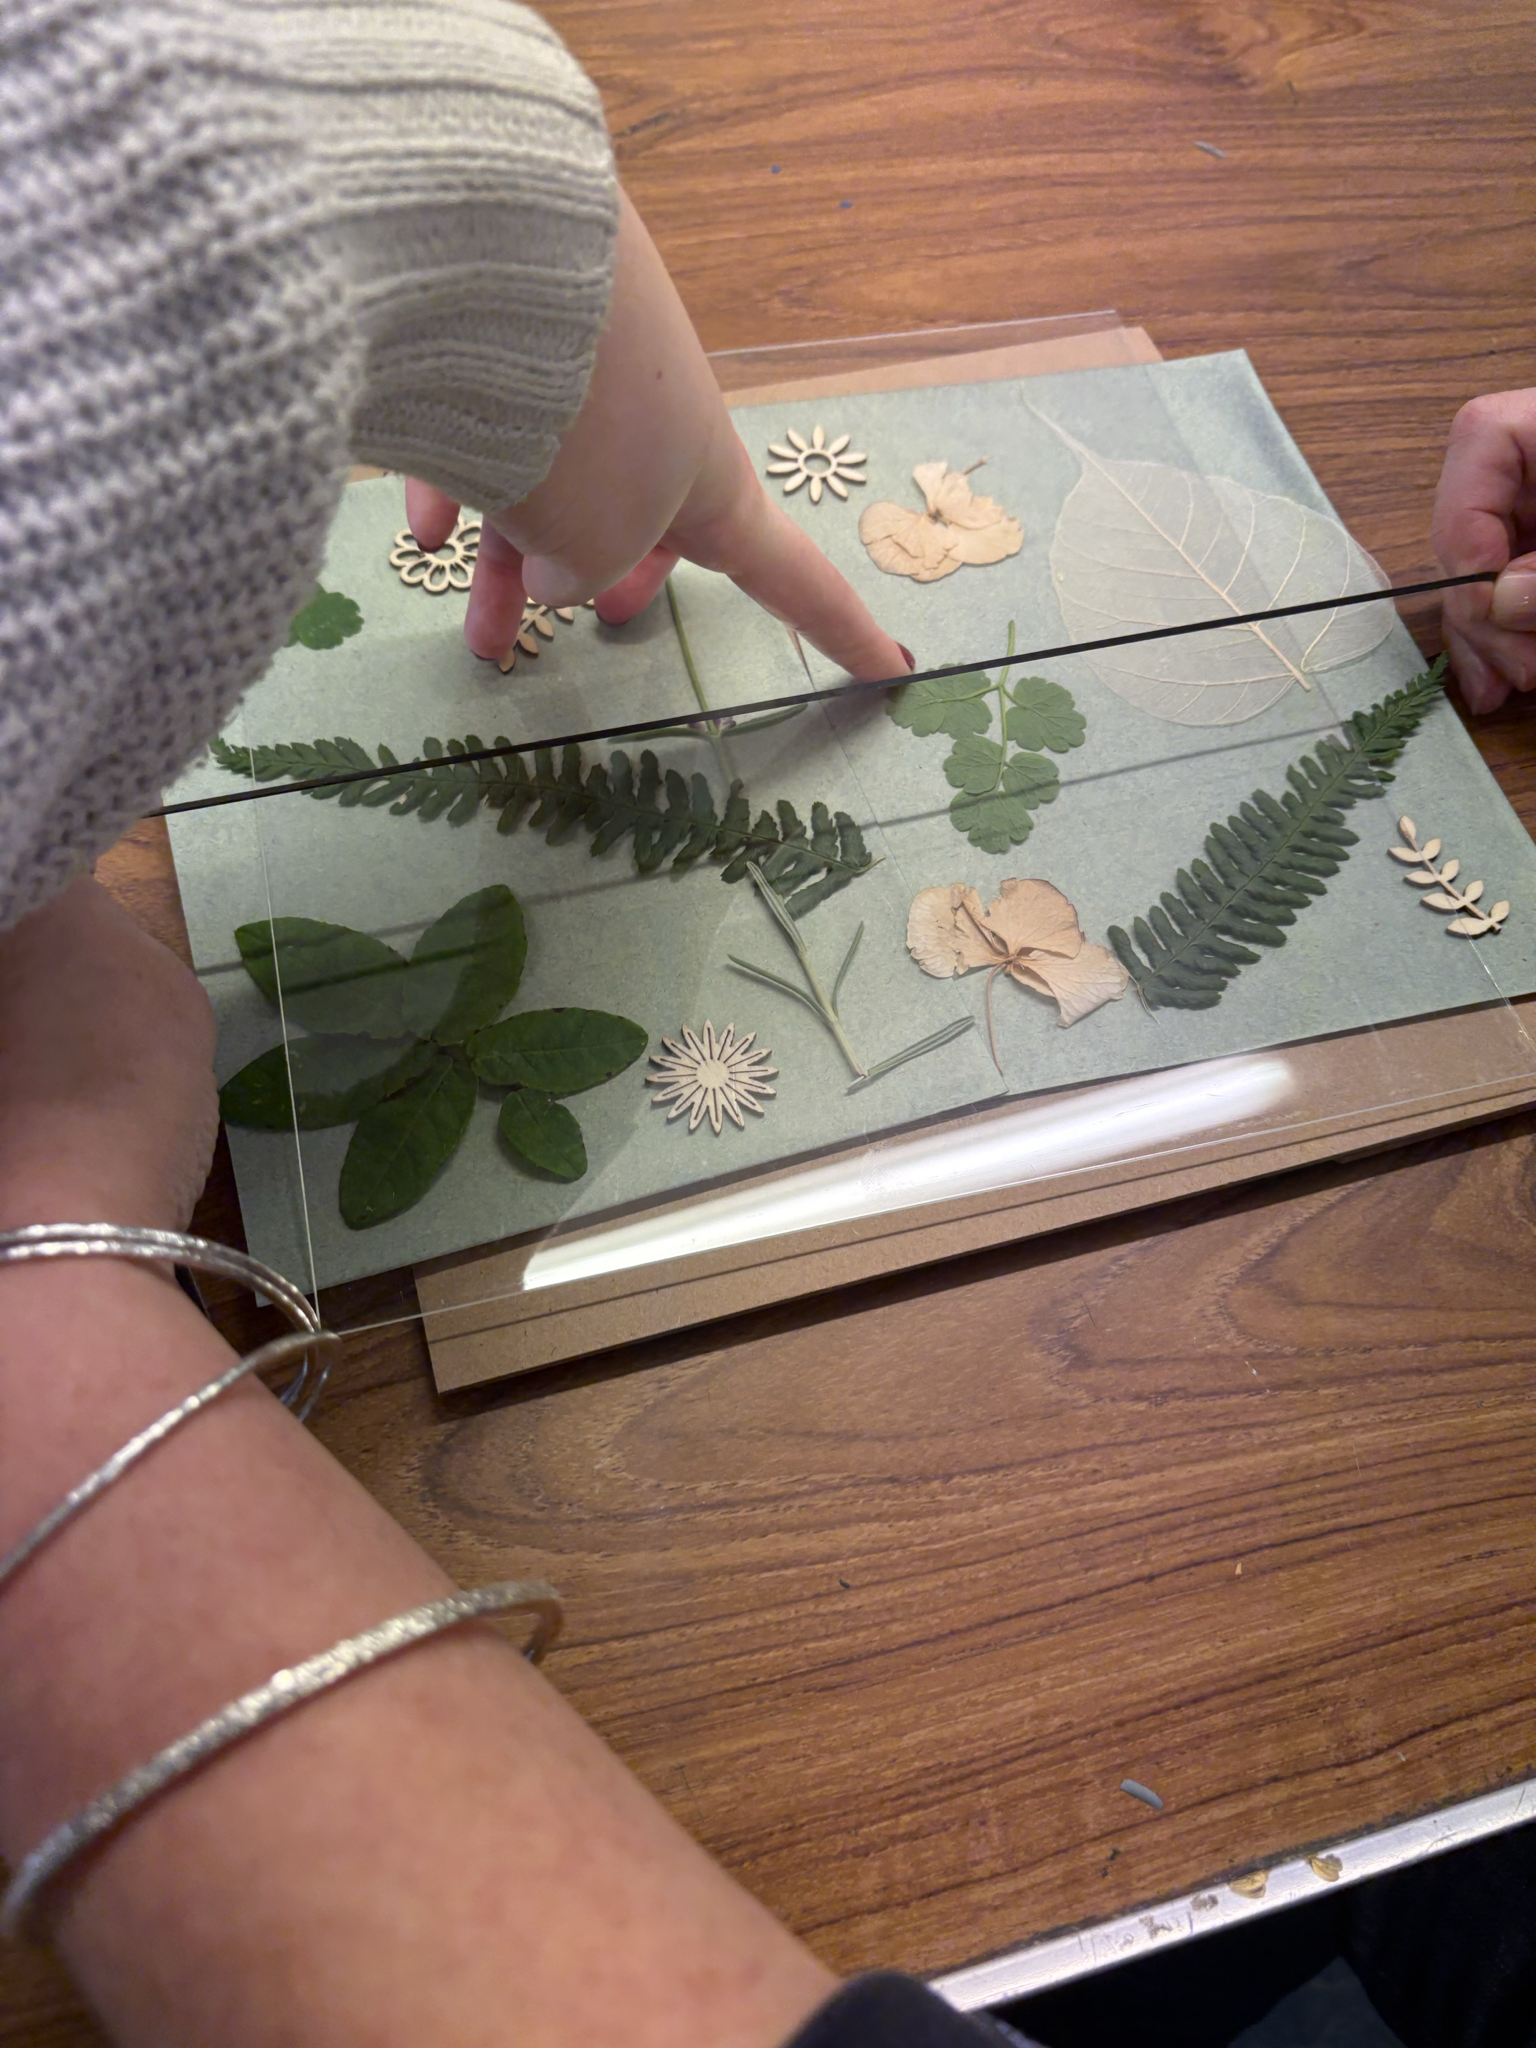
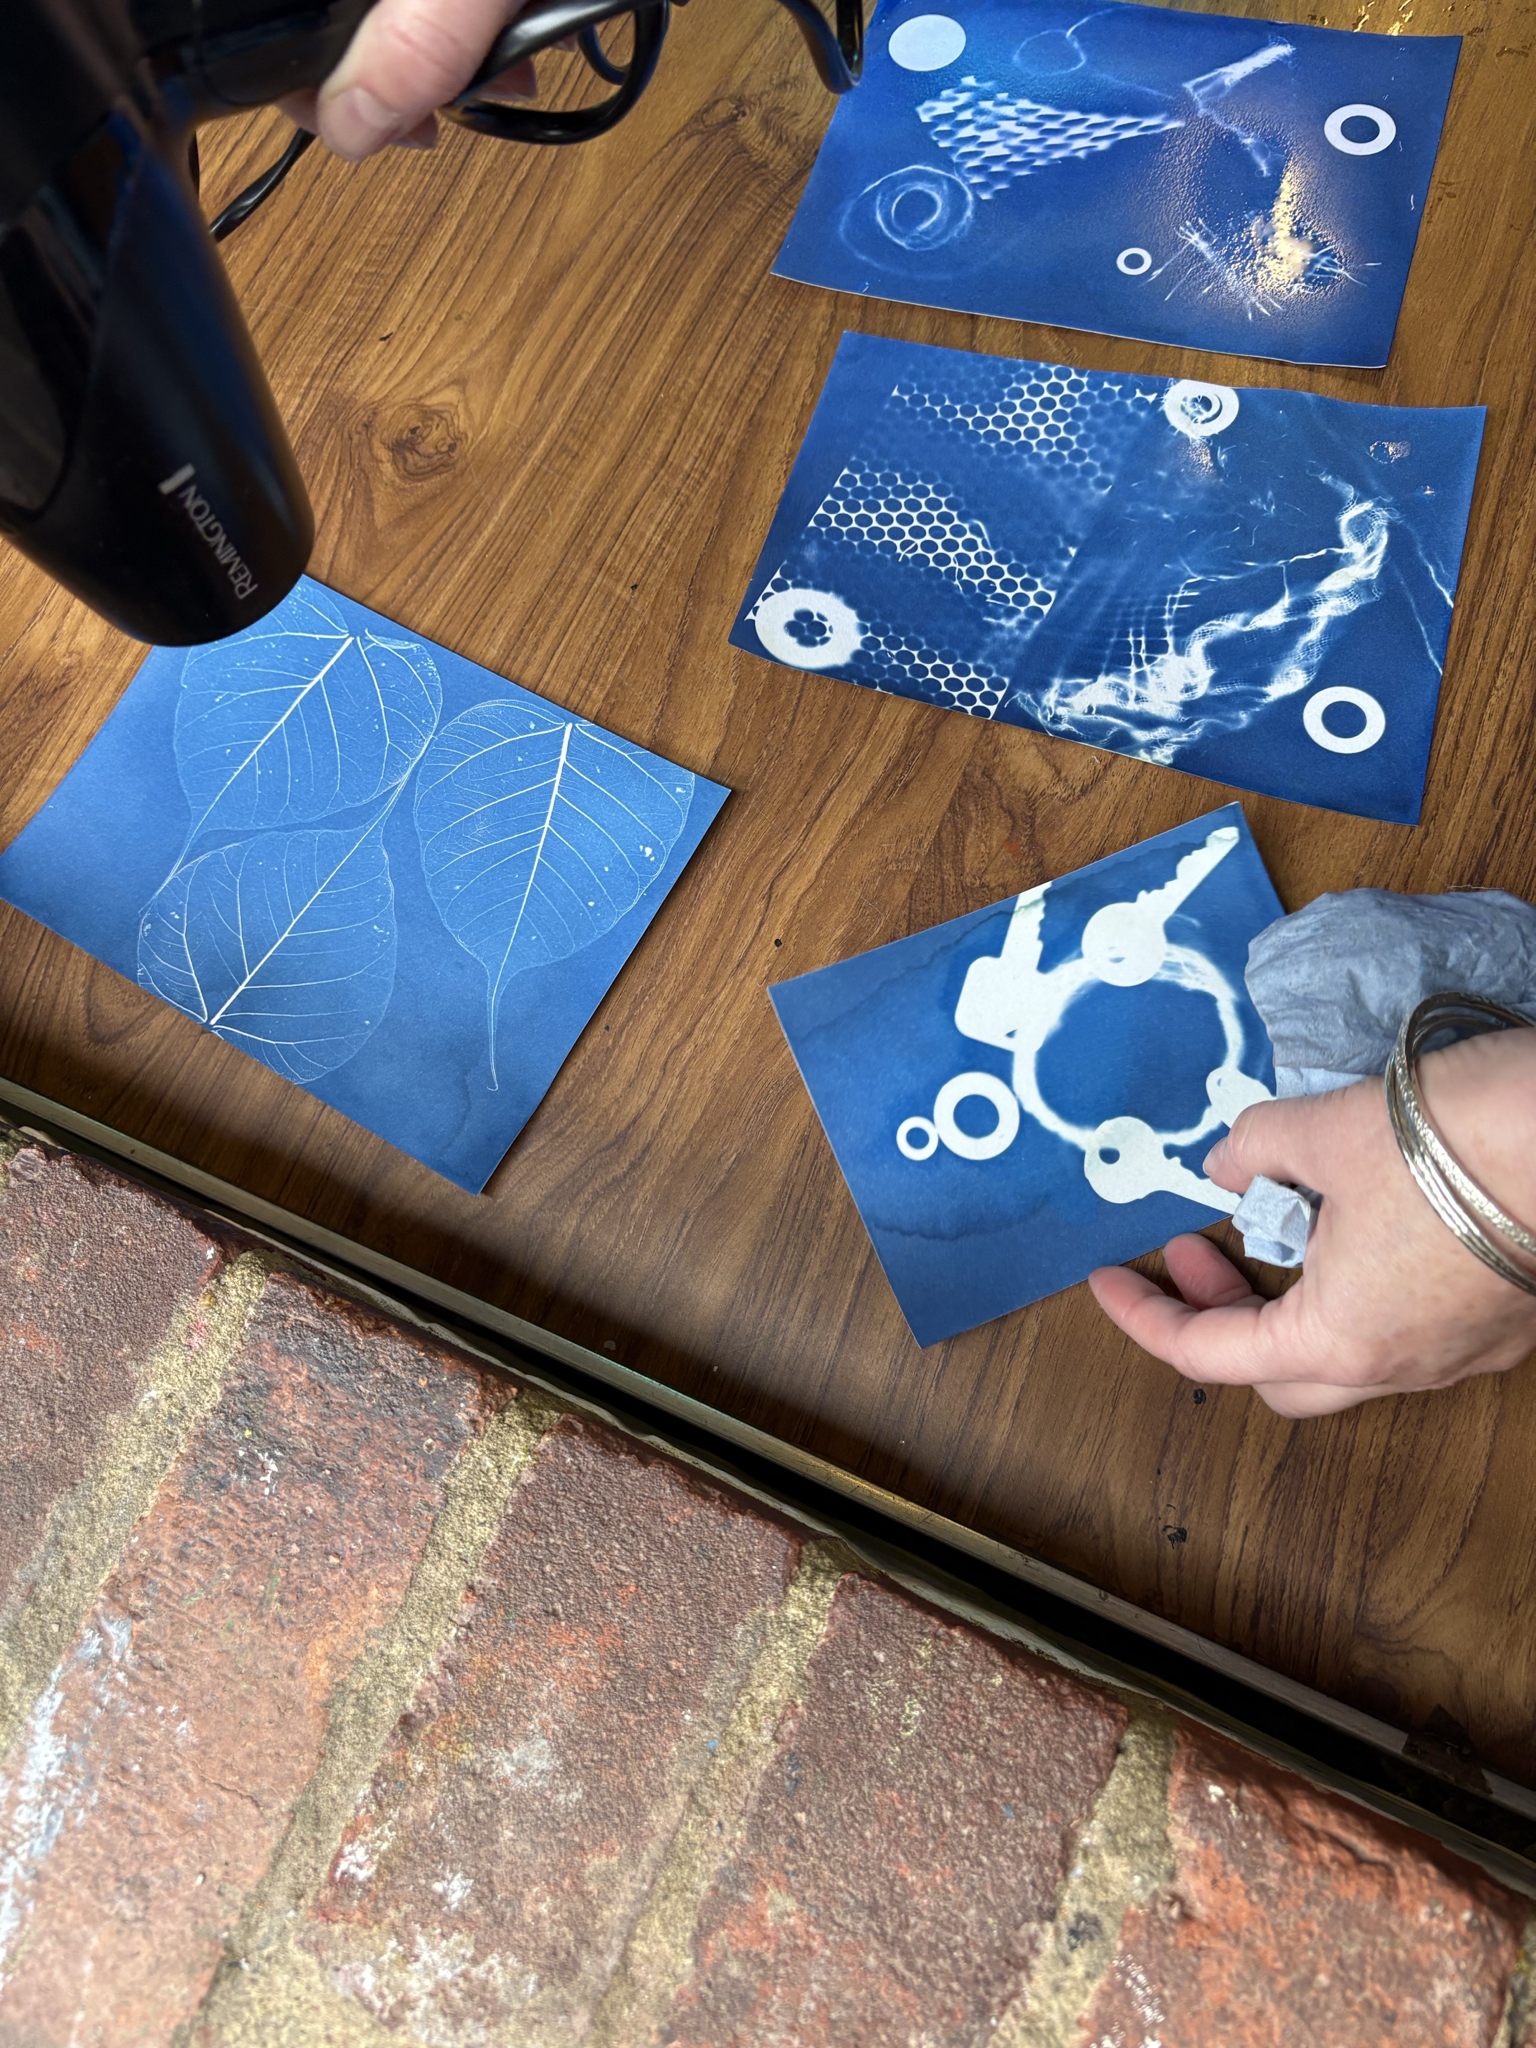
Cyanotype Printing.


Cyanotype Printing. 

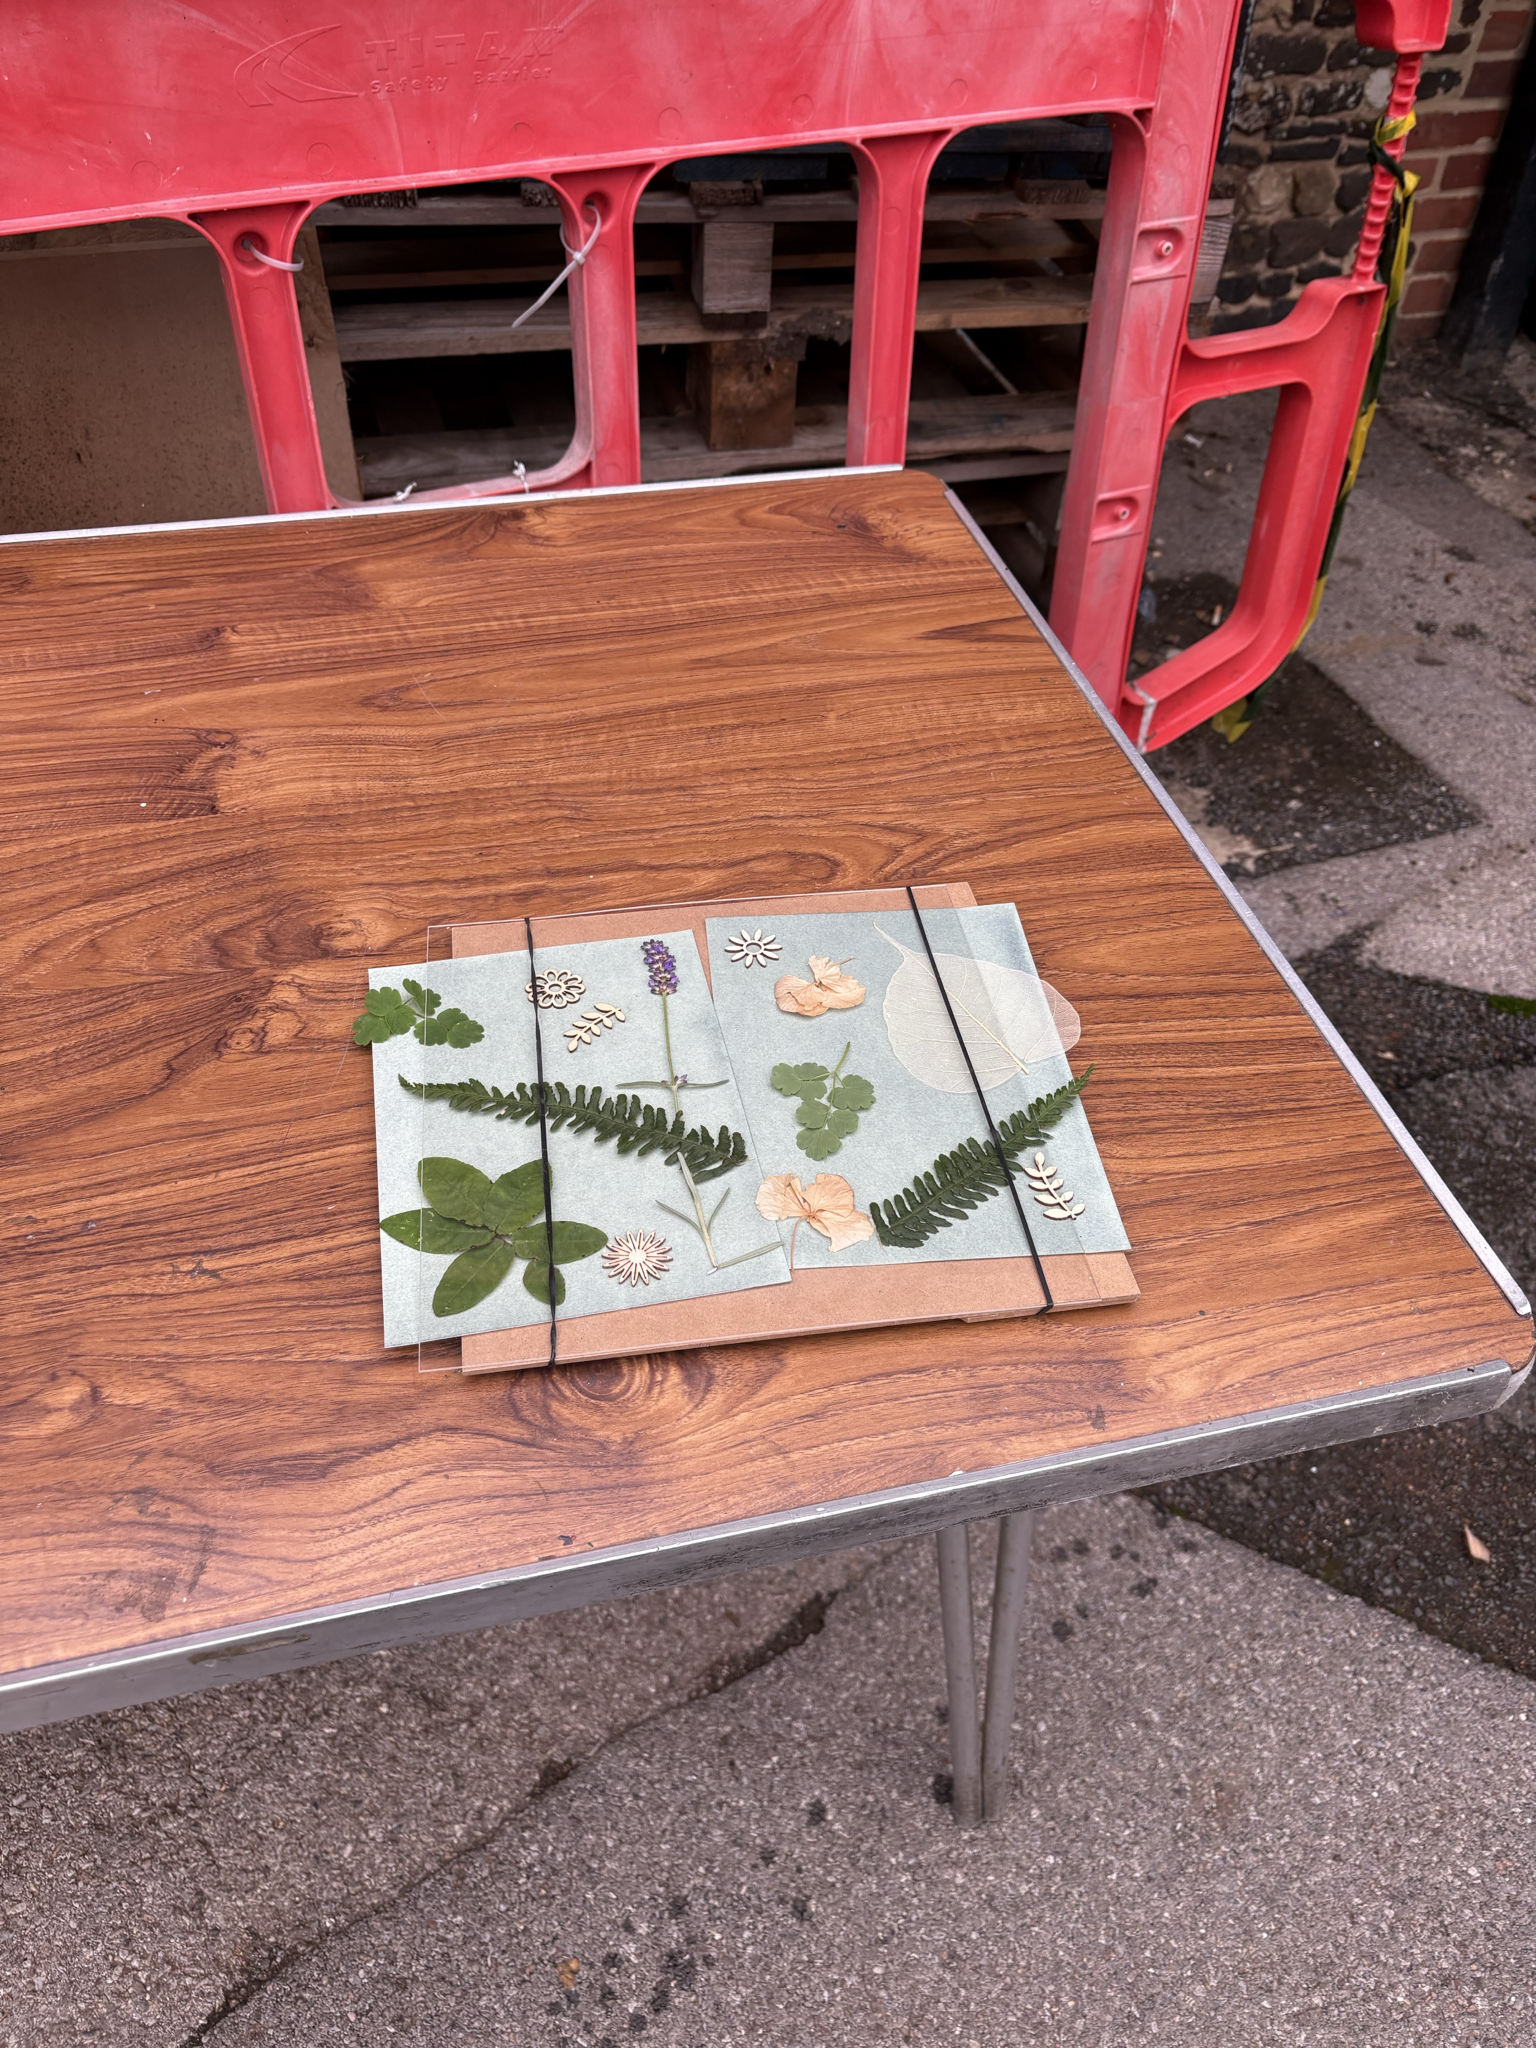
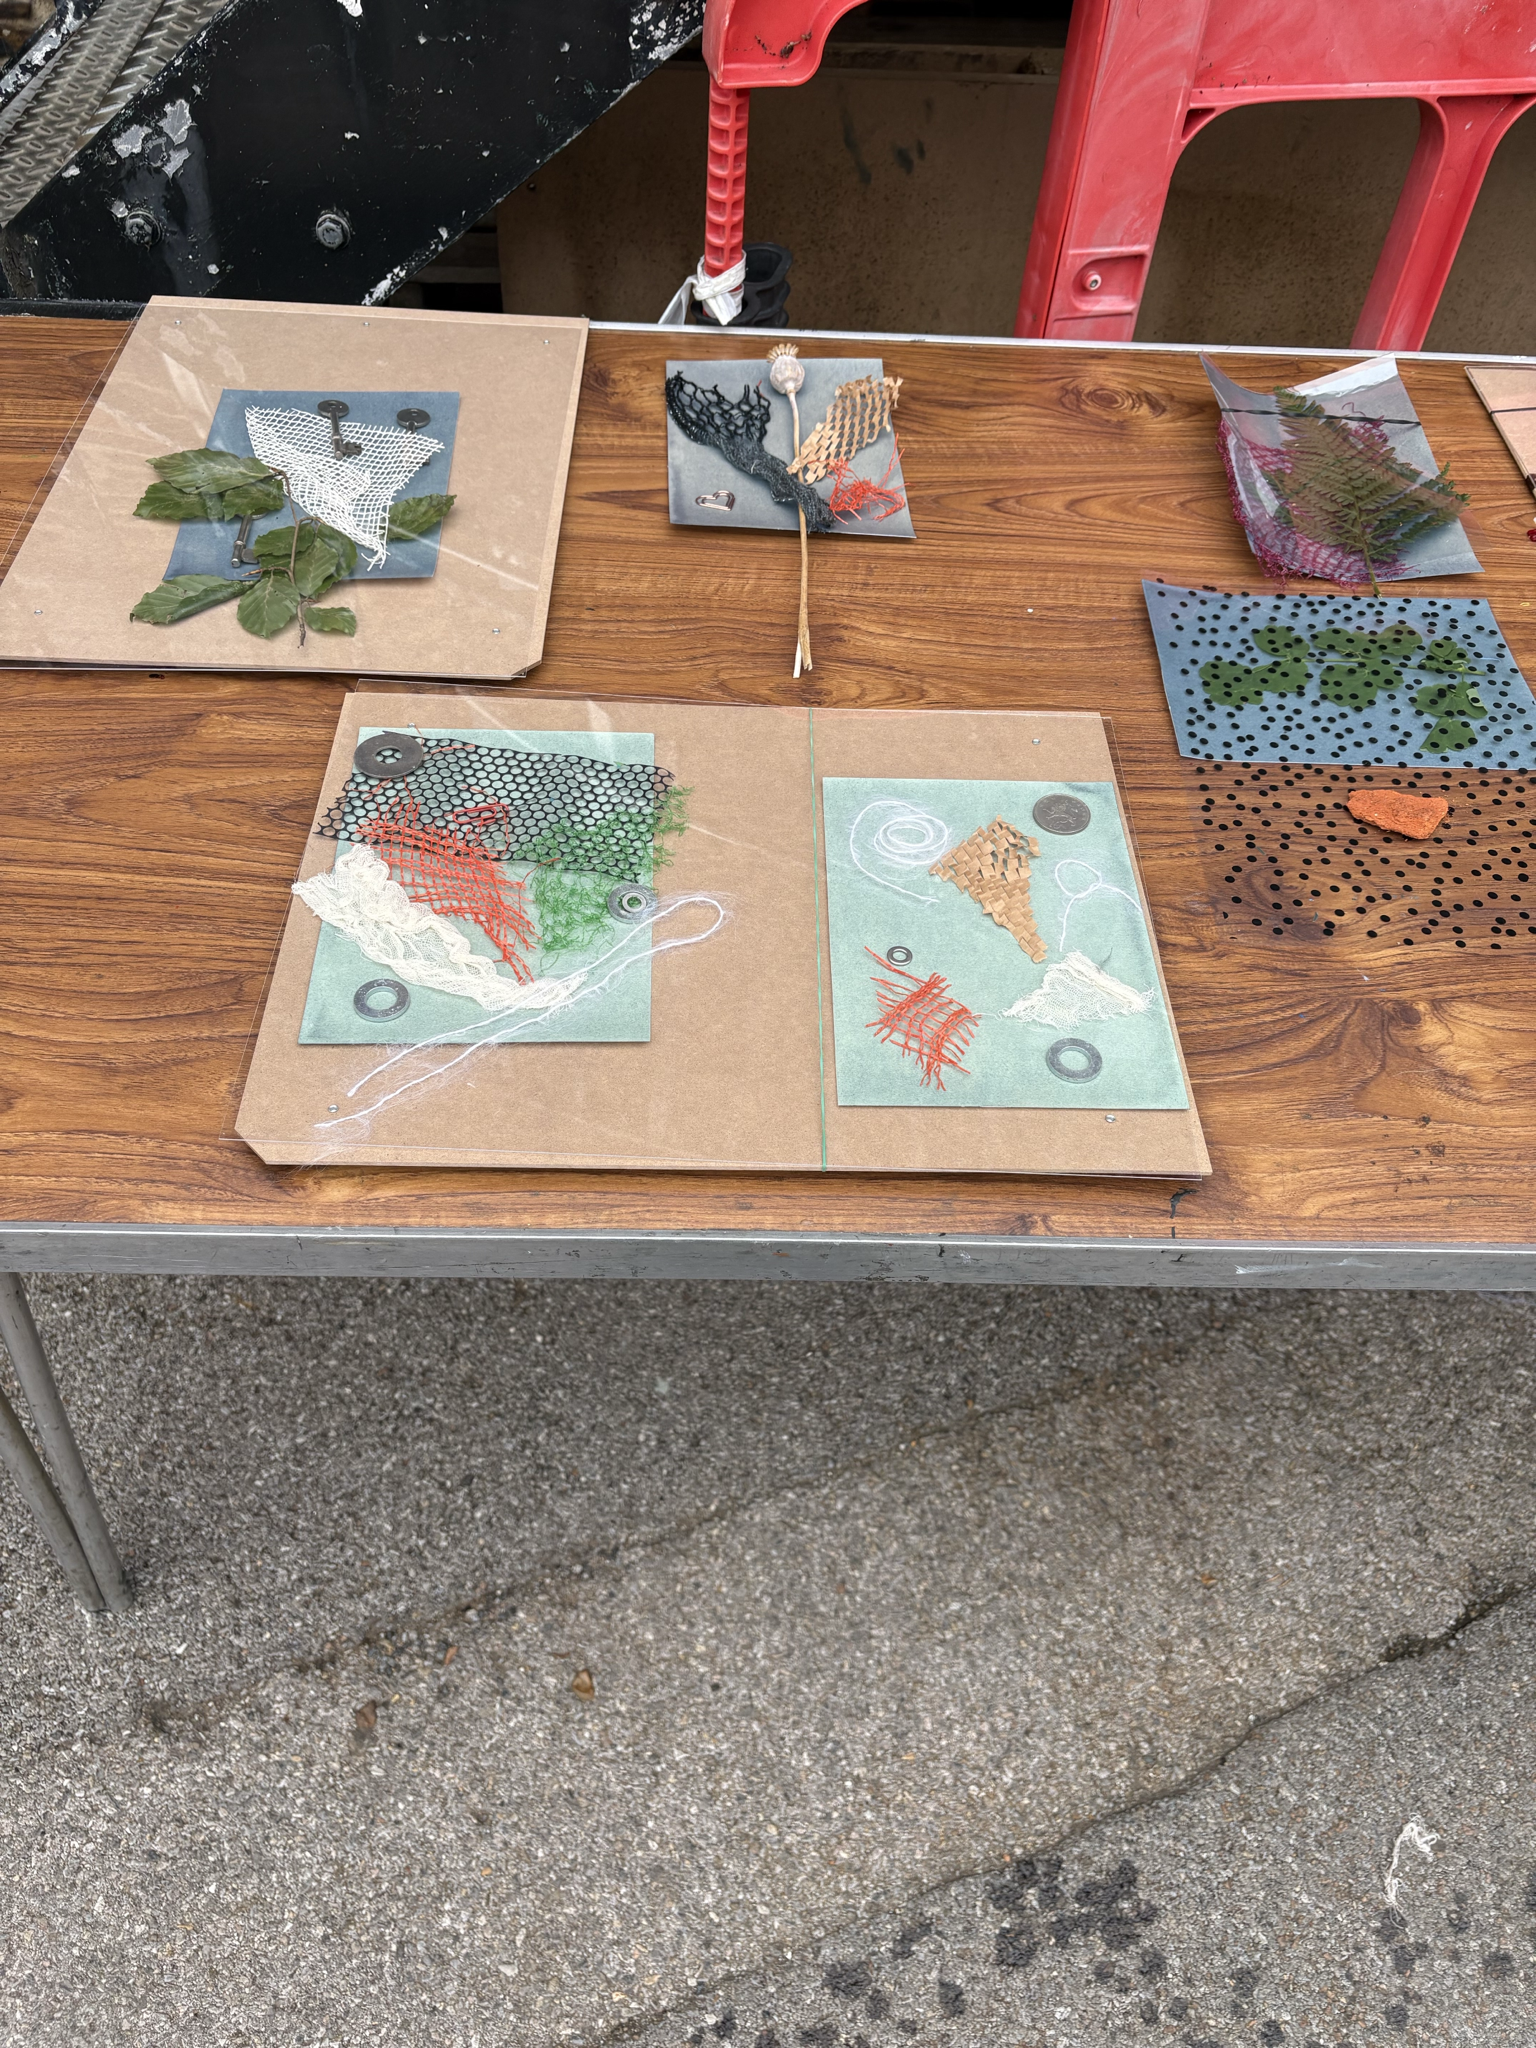
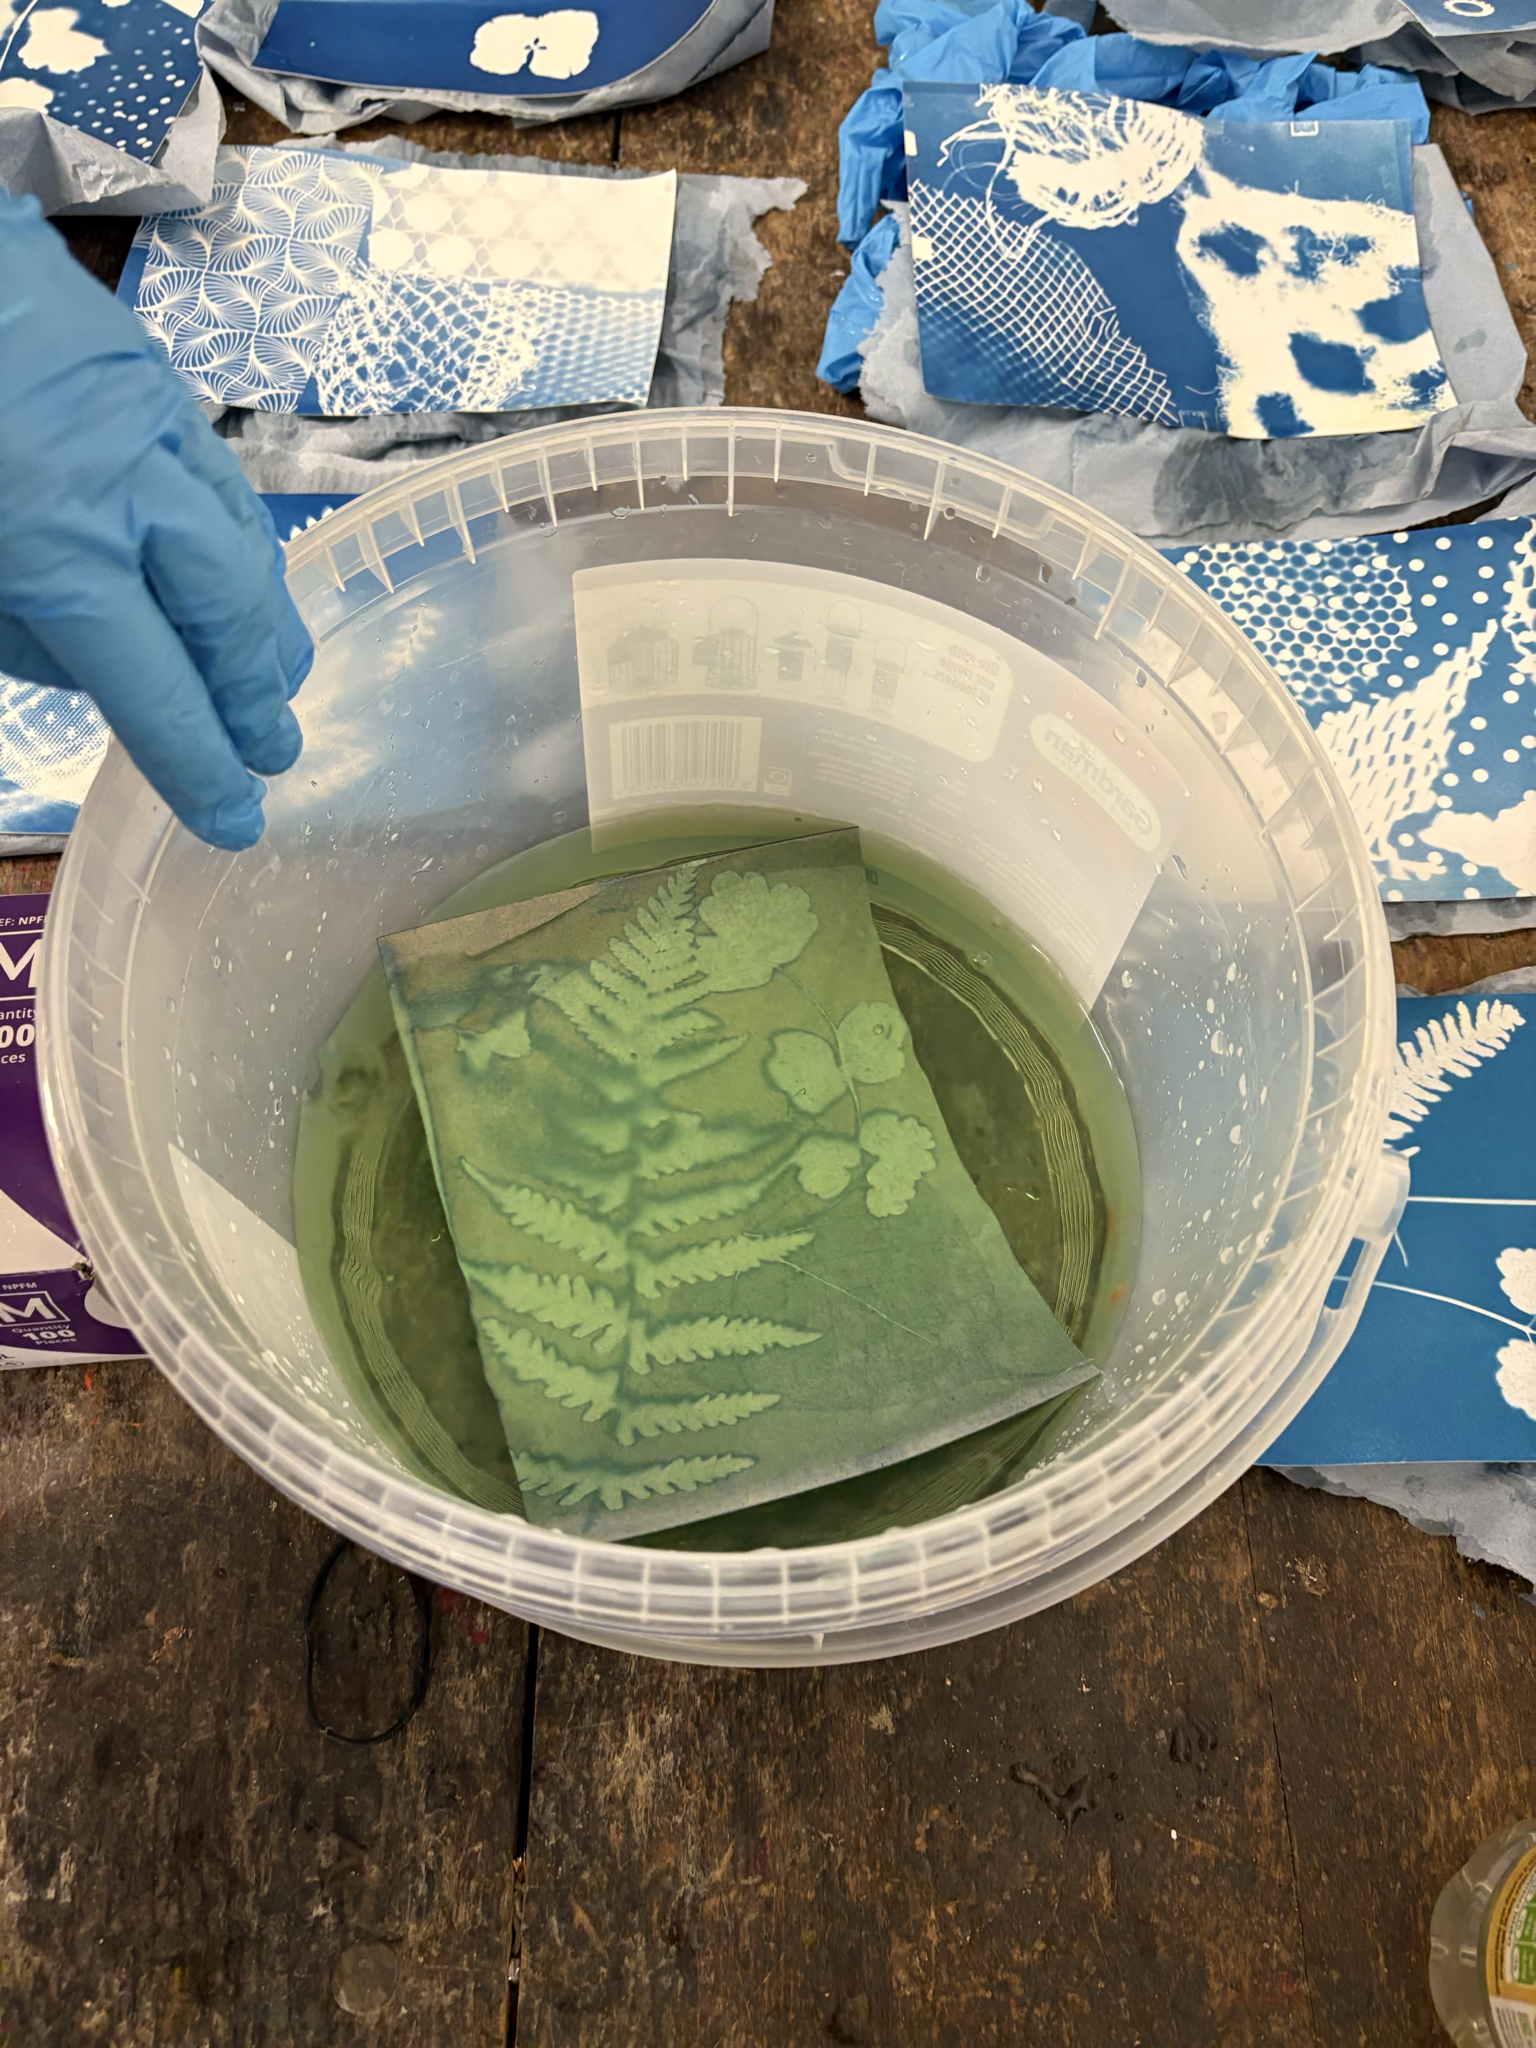
This is a photographic printing process that produces a cyan blue print that uses two chemicals- ferric ammonium citrate and potassium ferricyanide. To do this you use a mildly photosensitive solution which is applied to a receptive surface like paper or cloth which need to be dried in a dark place. Water colour paper is a good medium to print on but cotton and wool also work too. Any surface can be printed on if they're capable of soaking up the iron solution. You should be taking care to not degrade the image over time as of the alkaline-buffered papers. 

This technique was used in the 20th century as a low cost and simple way to make copies off drawings- blue prints! This was developed in 1842 by Sir John Herschel an English scientist and Astronomer. However, many contemporary artist used the process in their art for example Christian Marclay, Marco Breur and Kate Cordsen.  

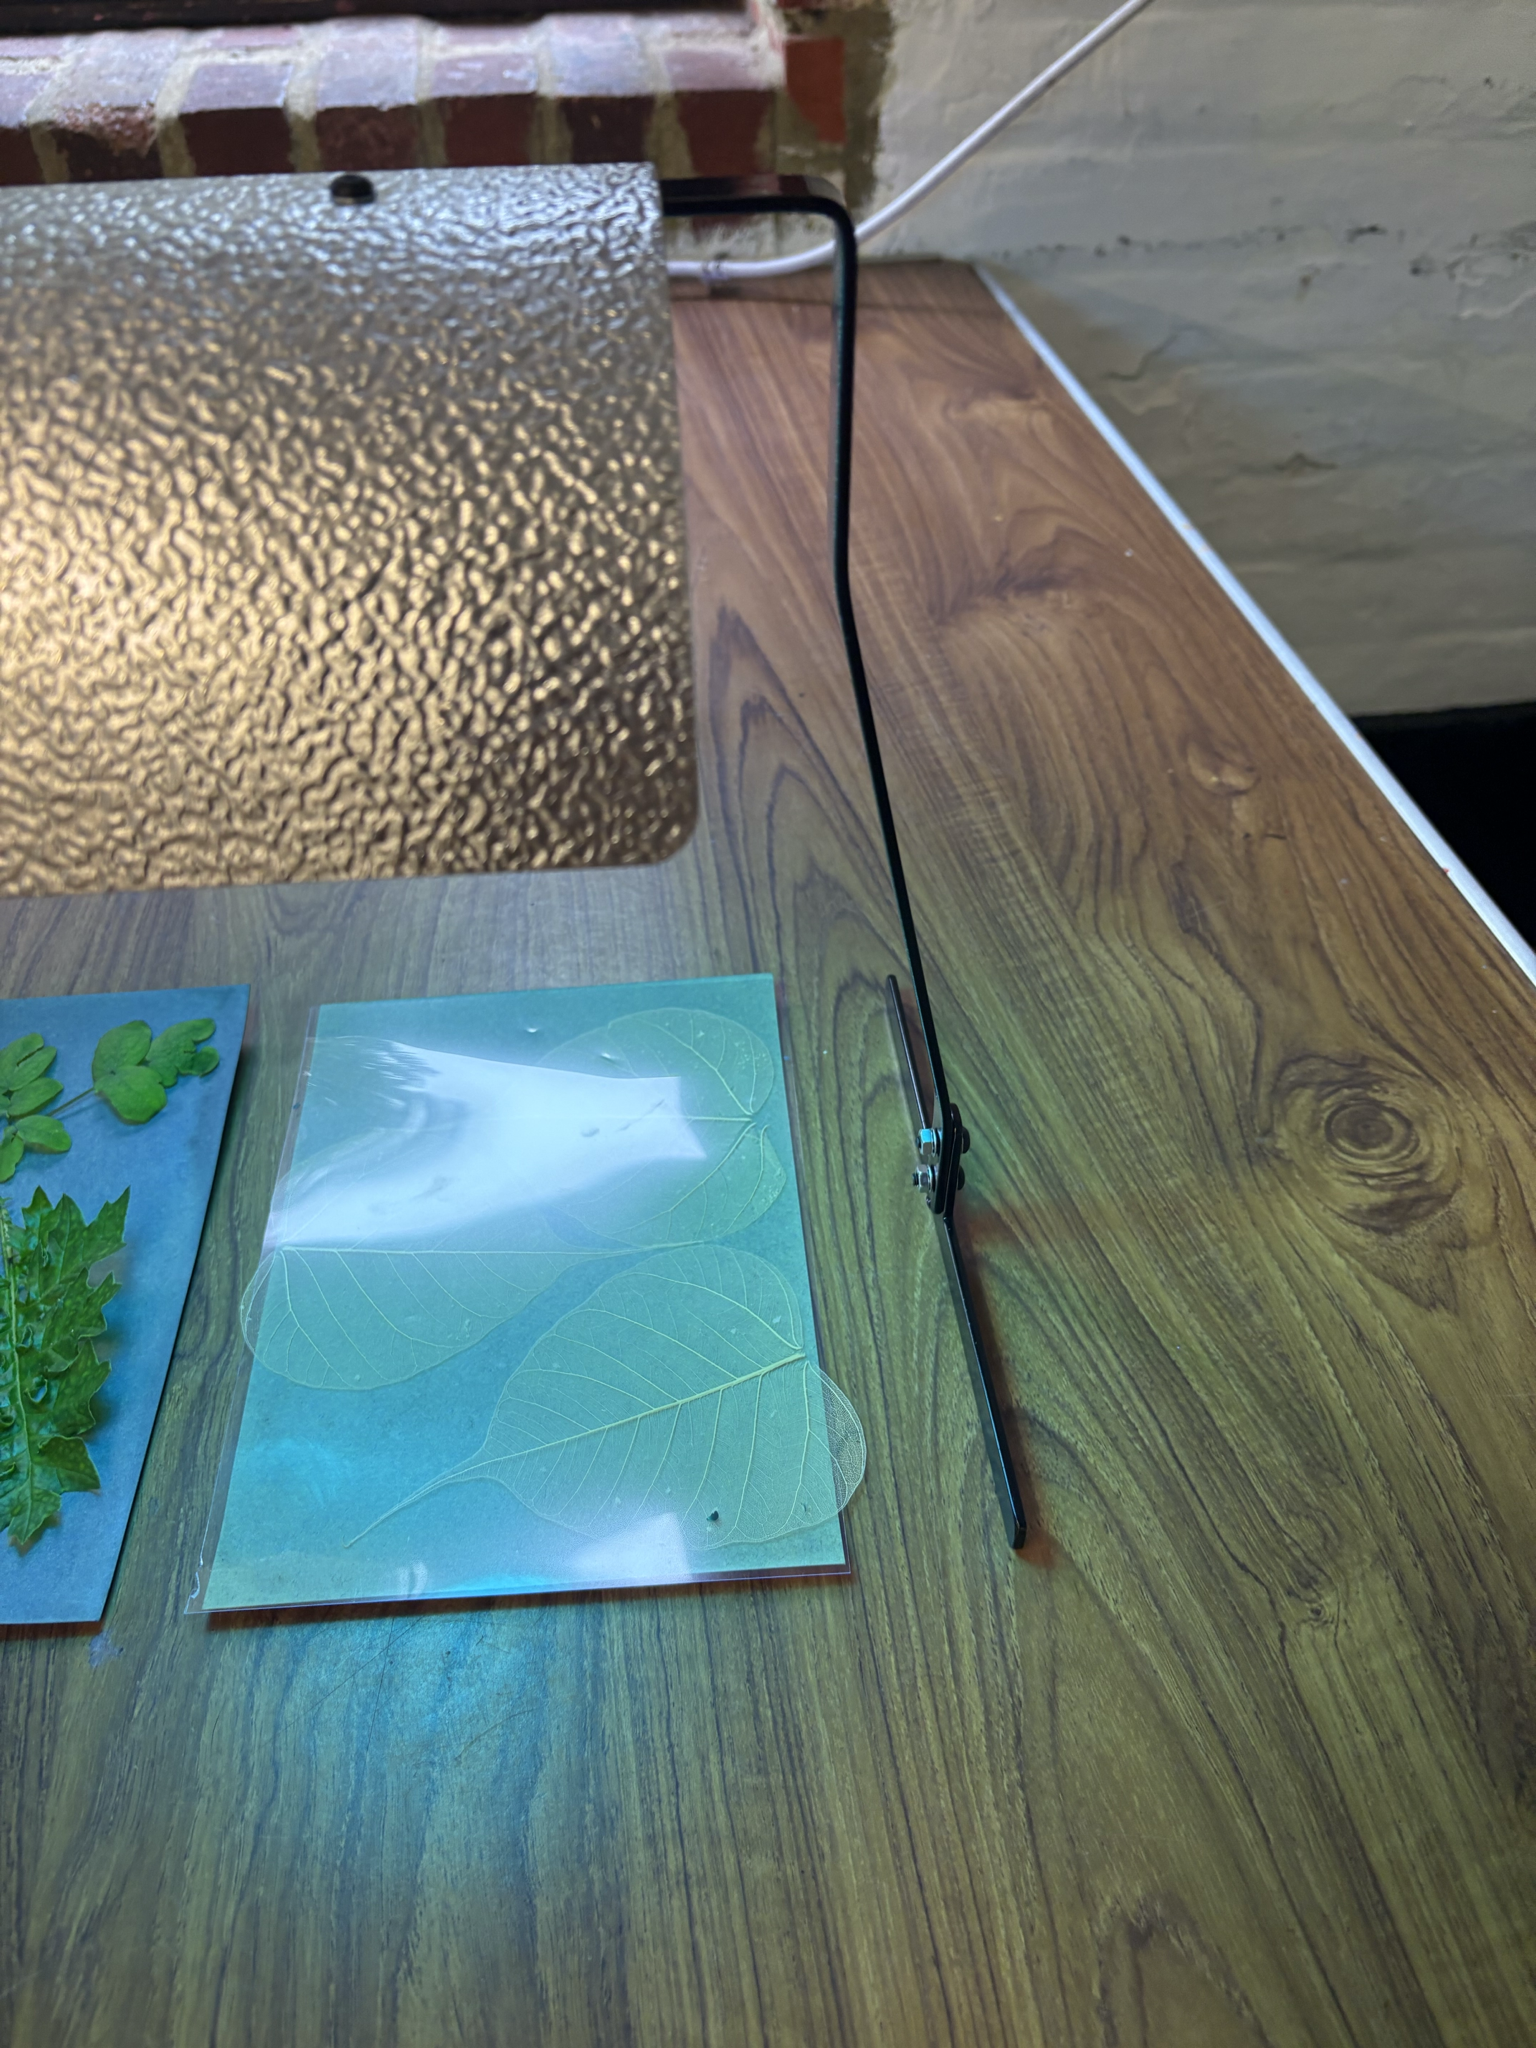
I learnt that a positive cyanotype image can be made by exposing it to a source of ultraviolet light as a contact through the negative or objects. To do this you can use sunlight where on a normal cloudy but still sun coming through, would take about thirty minutes for a positive cyanotype print and in unnatural Uv light like a lamp it will only take fifteen minutes.


Workshop and information by Hermione Thompson.


Wednesday, 16 October 2024

Computer Aided Design Summary.

Computer Aided Design

In CAD we learnt the rules of design, this will help to make my designs more cohesive and link to each other making my designs more visually pleasing. For example I learnt more in depth about the ‘rule of thirds’ which I have used to develop my photography when taking photos. This helps me to ensure there’s not too much empty space around what I want photographed. I have also used the ‘rule of odds’ in photography in my Bauhaus hat, I have created 7 loops to create a more visually pleasing and interesting composition.


We also learnt how to use Adobe Photoshop to edit photographs which I found really helpful as I have never done this before. I found this unexpected as I didn’t know you could edit pictures like how we did e.g.. changing colours in the photo. I will use this skill in my photography to help improve my photos and make them stand out more. This will also be useful to edit my photos if I don’t have time to reshoot, for example if my exposure is too bright on my photograph I can edit it instead of redoing it. 


I found going through each section really helpful as some of the settings I had never heard of or what they where for so doing this really helped increase my knowledge. 


Wednesday, 9 October 2024

Week Four.

Week Four


This week in pattern cutting I have learnt a lot. We started off by cutting out our skirt blocks and labelling which part is what, for example darts, hip line, centre front/ back. I found this helpful as I have never heard these terms before, and didn’t know where they would go. We also went over to what these would mean if they were shortened down- C.F means Centre Front- this was useful as now it will be easier to make quick notes and decode what nots my tutor jots down on the board.

We also looked at different types of skirts and how to draw them in a pattern flat, I’m glad we got shown how to draw a fashion flat because now I know the level of detail which needs to be included. I learnt about which designs decisions we could add to our pencil skirt; where we place the seams, zip position, length, depth of waist band. I have been taking these into consideration when drawing and designing my fashion flat, for example I have added 2 inches in length into the original skirt block.

In Pattern Cutting we also made mini blocks to cut out onto pattern page, I found this helpful as it made me understand it more as I found it easier to navigate the pattern when I could see it all in front of me at a smaller scale unlike the full-scale size twelve pattern.


I also learnt how to how to cut a kick for the bottom hem, for example folding and cutting the pattern paper or using a pattern wheel to trace the line on the back of the paper so you know where to cut. We also got shown how to cut Mitre Corners to make a vent, this was good as I have chosen this for my pencil skirt.

In our second lesson of Pattern Cutting, we cut out our plackets and waist band. I learnt what a placket is and what it is used for comfort against the zip so it’s not up against your zip, also its good as it ensures the zip won’t get caught in your skin.

At home I drew more fashion flats so that I am more confident in how to draw and identify them. Doing this I learnt how to draw different clothes and not just skirts, this will be good for in the future when we more on from skirts.


We also learnt what a layplan is and how to place our pattern pieces so we get the most out of our fabric so we save money.


In textiles I learnt how to shadow draw, I really the way this turned out as it looked like I traced the flower, even if it was hard to keep the torch and flower still when holding it in the air for the other person to draw around the shadow.


I also continued mark making drawing a home.


We also learnt how to Gelli Print, this is when you roll out ink or acrylic evenly with a roller and then roll that onto the Gelli plate, after you put the leaves onto the Gelli plate over the ink and place your material over both- e.g. paper. When you peal this off the plate if takes the ink of the plate revealing and ink background with the outline and shape of the leaves bare. We also used the inky leaves to print onto the materials which left a print of just the leaves, once we took the leaves of, we also used remanence left on the Gelli Plate to print, this left a light background with also the details of leaves left over. I really like Gelli Printing as I got to learn a new technique and find a new way to print which related to my brief about Liberty.


In Computing we learnt how to use photoshop and how to add grids and guides which will be useful when using the rule of thirds. I’m glad we went over this is as even though I have used photoshop before I only have a basic idea of how to use it so this will help when I use it more in the future. We also learnt the rules of design which will help my designs be more developed and work together better.


In photography we continued in the Dark room making photograms.

Tuesday, 1 October 2024

Week Three.

Week Three


We started this week in Pattern cutting with Blind Hems and Bias Binding, I enjoyed learning how to do this but I found it tricky to ensure all the fabric was caught in the folds when stitching, after I attempting this a few times it became easier to grasp the technique. I found Bias binding really helped me to understand hat it means when talkin about the grain of the fabric and how to cut it correctly it. Completing the binding itself was a bit tricky to keep a nice rounded neat have, but I have been practicing at home to try to make the curve better and more precise. 

In our second lesson we cut out our skirt blocks and started to look at the different types of skirts. I'm excited to start putting together our skirt as I have never made one before!


In photography we continued to make Photograms but I also included different objects to last time. For example leaves, I really like the way this turned out as the leaves have created a gradient of grey to white, this makes it look like a flame which I think is really interesting. In photography we also took photographs of ping pong balls in ways to make them look interesting, we where limited to just using the floor which our photography room is on so we made sure to look everywhere to see which places we thought would be appropriate and visually interesting. After we had collected photographs with just ping pong balls we also added a large tennis ball, this was fun trying to capture these two in the air at the same time. I also liked how these balls complimented the orange backdrop that was in the photography room. 


In textiles we started the week by having a demonstration given by a student in the year above us, she showed us how to mono-print which I had done before but it was helpful to get refreshed on. To transfer the ink on my paper I used strange object to make marks, for example a key or the back of a pencil, I did this to see if it made the lines look any different or where harder to use. I found the Key was hard to use and it was harder to move around the page. I really like how the two pens in one hands turned out as it gives a look of movement/ motion blur off. I also really like Mono-printing as you can never be sure what the finished product will be as you cant see the ink being transferred when you draw. 


Final Third Outfit

Beths Costume Bodice For this the panels were kept plain except for the two back panels which had shirring parts on them. For this I started...